How to Make Slime With Baking Soda: Easy Step-by-Step Guide
Making slime at home is a simple activity that combines creativity, hands-on play, and a little bit of science.
If you are wondering how to make slime with baking soda, you can create a stretchy, squishy slime with a few common ingredients and simple steps.
Baking soda is useful in many homemade slime recipes because it helps change the consistency of the mixture.
When combined with glue and the right activator, it helps create the smooth, stretchy texture kids enjoy.
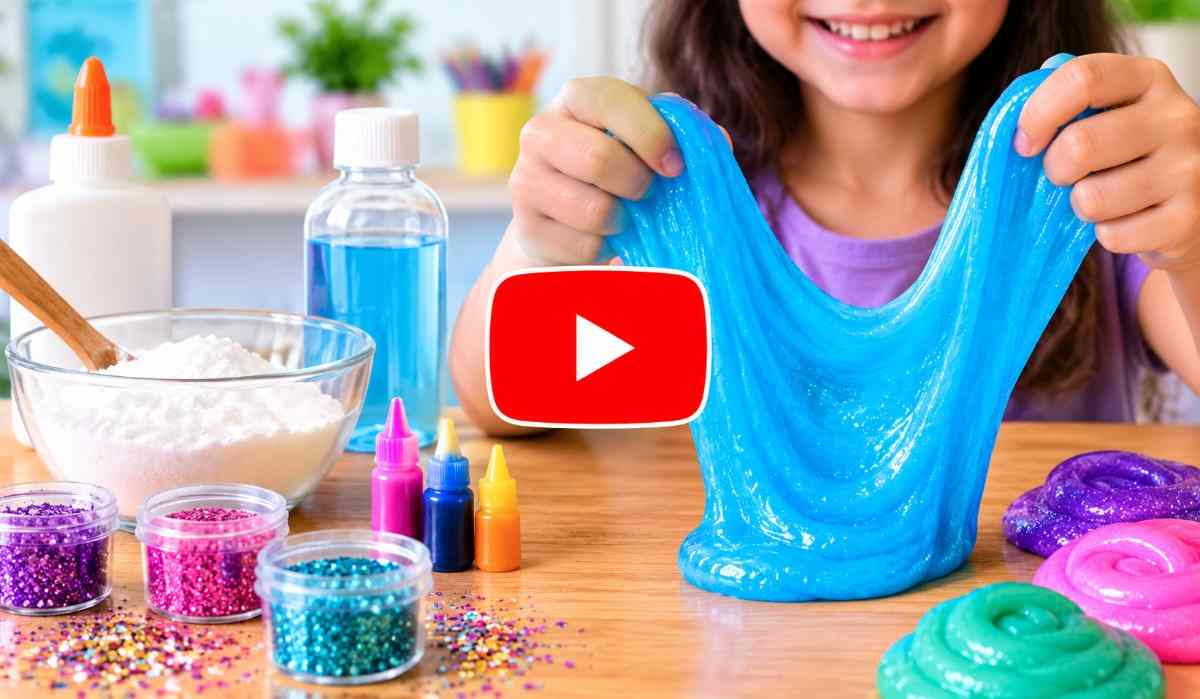

This DIY slime recipe is easy enough for beginners and can be customized with colors, glitter, scents, or other decorations. With adult supervision and basic safety precautions, it can be a fun project for families, classrooms, or rainy-day activities.
Is Baking Soda Good for Making Slime?
Yes, baking soda can be used as part of a slime recipe, but it usually does not create stretchy slime by itself. It works alongside other ingredients, particularly glue and an activator.
A popular approach uses white school glue, baking soda, and contact lens solution containing boric acid or a borate compound. The activator helps the glue molecules link together, creating the stretchy material known as slime.
For children, the most important part is choosing appropriate ingredients and having an adult handle or supervise the activator.
Safety Tips Before Making Slime
Slime making is generally a fun craft activity, but treat it like any other hands-on science project.
Keep these precautions in mind:
- Children should have adult supervision, especially when using contact lens solution or other activators.
- Do not eat slime or place it near the mouth, eyes, or face.
- Wash hands before and after playing with slime.
- Avoid using ingredients if a child has a known sensitivity.
- Keep slime away from carpets, furniture, clothing, and other surfaces that can stain.
- Do not use slime on broken or irritated skin.
- Never mix household cleaning chemicals into slime.
- Keep ingredients and finished slime out of reach of pets.
If irritation develops during play, stop using the slime and wash the affected area with water.
Ingredients and Tools for Baking Soda Slime
For a basic batch of baking soda slime, you will need:
Ingredients
- ½ cup white school glue
- ½ teaspoon baking soda
- 1 tablespoon contact lens solution containing boric acid or a borate compound
- Food coloring, optional
- Fine glitter, optional
Tools
- Mixing bowl
- Spoon or craft stick
- Measuring spoons
- Measuring cup
- Airtight storage container
The amount of activator can vary depending on the glue and other ingredients, so don’t add the full amount at once. Add it gradually until the slime reaches the desired consistency.
How to Make Slime with Baking Soda
Now let’s go through the process step by step. This simple method is a good starting point if you are making slime with baking soda for the first time.
➢ Step 1: Add the Glue
Pour ½ cup of white school glue into a clean mixing bowl.
Use a spoon or craft stick to stir the glue gently. Make sure there are no large lumps before moving to the next step.
➢ Step 2: Add Baking Soda
Add ½ teaspoon of baking soda to the glue.
Stir thoroughly until the baking soda is evenly distributed throughout the glue. This helps prepare the mixture for the activator.
➢Step 3: Add Food Coloring
If you want colored slime, add a few drops of food coloring.
Start with a small amount because you can always add more. Stir until the color is evenly mixed.
You can also divide the glue mixture into smaller bowls and make several colors for a colorful slime collection.
➢ Step 4: Add the Activator Slowly
Add a small amount of contact lens solution containing boric acid or a borate compound.
Stir continuously as you add it. The mixture should gradually become thicker and begin pulling away from the sides of the bowl.
Do not add too much activator at once, because too much activator can make the slime hard or rubbery.
➢ Step 5: Knead the Slime
Once the mixture starts forming, remove it from the bowl and gently knead it with clean hands.
At first, it may feel sticky. Continue kneading for several minutes.
If necessary, add a very small amount of activator and knead again until the slime becomes stretchy and manageable.
➢ Step 6: Test the Texture
Slowly stretch the slime between your hands.
Good slime should stretch without breaking immediately and feel soft, not extremely wet or stiff.
If it is too sticky, add a tiny amount of activator. If it becomes too firm, work it gently with your hands rather than immediately adding more ingredients.
Your homemade easy slime for kids is now ready for supervised play.
Fun Slime Variations Using Baking Soda
Once you understand how to make slime with baking soda, you can experiment with different textures and appearances.
➢ Fluffy Slime
For fluffy slime, gently fold shaving foam into the glue mixture before adding the baking soda and activator.
The shaving foam creates a lighter, airier texture.
Because shaving products can vary, add a small amount at a time and adjust the mixture gradually.
➢ Glitter Slime
Add fine craft glitter after mixing the glue and baking soda.
Start with a small amount and mix thoroughly. Too much glitter can affect the texture and make the slime messy.
For younger children, use larger decorative pieces only when they can be handled safely and kept away from the mouth and eyes.
➢ Scented Slime
A small amount of skin-safe fragrance designed for craft use can add a pleasant scent.
However, scented products may irritate sensitive skin. For children with sensitive skin, unscented slime is the safer choice.
➢ Glow-in-the-Dark Slime
For glow slime, use a craft product designed to create a glow effect, and follow the label directions.
Mix it into the slime gradually. Do not substitute unknown chemicals or household products for a proper glow material.
Troubleshooting Your Baking Soda Slime
Sometimes your first batch may not have the perfect texture. Don’t worry. Slime can often be adjusted.
Why Is My Slime Too Sticky?
Sticky slime usually needs a little more activator.
Add only a small amount, mix thoroughly, and knead the slime before deciding whether you need more.
Avoid pouring in too much at once.
Why Is My Slime Too Hard?
Too much activator can make slime firm, rubbery, or difficult to stretch.
Try kneading it for several minutes. If it remains too stiff, you may need to adjust the texture with a small amount of compatible softening ingredient rather than adding more activator.
Why Isn’t My Slime Forming?
If the mixture remains liquid, check whether the activator is appropriate for the recipe.
The contact lens solution should contain boric acid or a borate compound. Not every contact lens solution works as a slime activator.
Add the activator gradually while stirring continuously.
Why Does My Slime Break Instead of Stretching?
Slime that breaks quickly may have too much activator or may not have been kneaded enough.
Let the slime rest briefly and knead it gently. Avoid repeatedly adding activator unless the mixture is clearly too sticky.
The Science Behind Slime
Slime is more than just a fun craft. It also demonstrates an interesting scientific process.
School glue commonly contains a polymer called polyvinyl acetate. Polymers are made of long molecular chains.
When an appropriate activator is introduced, interactions between these polymer chains change the behavior of the mixture. Instead of flowing like ordinary liquid glue, the material becomes thicker, stretchy, and more elastic.
Baking soda helps modify the mixture and can influence the final texture, while the activator plays an important role in creating the network that gives slime its characteristic consistency.
This makes baking soda slime a simple way to introduce children to concepts such as polymers, mixtures, chemical interactions, and changes in material properties.
What Can Kids Learn From Making Slime?
A homemade slime activity can support learning while children are playing.
Parents and teachers can use the project to discuss:
- Measuring ingredients
- Following instructions
- Observing texture changes
- Comparing different mixtures
- Understanding polymers
- Practicing patience and experimentation
- Learning about cause and effect
For example, children can make two small batches and change one ingredient slightly. Then they can compare which mixture is stretchier, softer, or firmer.
This turns an ordinary craft into a simple hands-on science experiment.
Cleanup Tips
Slime is easier to clean up when you prepare the workspace beforehand.
Place newspaper, parchment paper, or a washable mat over the table. Keep slime away from carpets and fabric whenever possible.
If slime gets onto a hard surface, remove it gently rather than spreading it around.
For dried slime, soaking the affected area with warm water can help loosen the material. Always consider the surface before using any cleaning product.
Wash mixing bowls and tools after the activity, and wash hands thoroughly after handling the slime.
How to Store Homemade Slime
Proper storage can help your slime maintain its texture for longer.
Place the finished slime inside a clean, airtight container or resealable plastic bag.
Keep the container closed when you’re not using the slime. Store it at room temperature away from direct sunlight and excessive heat.
Do not use slime if it develops an unusual smell, visible mold, or other signs of contamination. Homemade slime is not designed to last indefinitely.
Always wash hands before returning slime to its container to reduce contamination.
Tips for Making the Best Slime
For a smoother, more enjoyable, and safer slime recipe, keep these simple tips in mind:
- Measure ingredients carefully.
- Add activator gradually.
- Mix thoroughly after every addition.
- Knead the slime before making major adjustments.
- Use small amounts of coloring and glitter.
- Keep slime away from food and eating areas.
- Store finished slime in an airtight container.
- Always supervise younger children.
The biggest mistake beginners make is adding too much activator too quickly. Patience is often the key to getting the right texture.
Conclusion
Learning how to make slime with baking soda is an easy way to combine creativity, play, and simple science.
With school glue, baking soda, an appropriate activator, and a few optional add-ins, families can create colorful homemade slime without complicated equipment.
The best part of a DIY slime recipe is that you can experiment with texture, color, glitter, and other creative additions. If the first batch is too sticky or too firm, small adjustments can help you understand how each ingredient affects the final result.
For parents and teachers, slime can also become an educational activity that introduces children to measurement, polymers, mixtures, and cause-and-effect relationships.
Most importantly, supervise the activity, use ingredients appropriately, and encourage children to enjoy the process.
Once you know how to make slime with baking soda, there are plenty of fun textures and designs to explore.
References
- Healthline – Baking Soda Benefits and Uses: https://www.healthline.com/nutrition/baking-soda-benefits-uses
About Us